

Why?
Because my hair would always end up looking all crazy....
Because I could never get my ends to look right....
Because the middle of my head would dry days later than the rest of my hair....
Because the middle of my head would tangle into a million knots....
Because I could never really produce any type of decent style as the result of an airdry....
Because I never analyzed the airdrying process and how to perfect the results.
For the longest time, airdrying for me meant having to sport tangled unattractive hair until my next wash. Then came the day I realized that this was not the way to live. I knew in my heart of hearts that airdrying could mean healthier lengths. So I had to find a way. It was an absolute necessity!
Over the past few weeks, I've played out various scenarios in my mind of how I can create a decent result from air drying. Some of the scenarios I've tried have worked well. Some of the others were not as I had envisioned. I'll take you through my thought process. This may take a while so go grab a cup of hot cocoa and make yourself comfortable...
For me, the biggest obstacle to decent results was my inability to tame my ends during the drying process. My method of choice was as follows: After washing and conditioning, I would comb the hair back into a ponytail (while damp). Because of the fragile nature of the hair while wet, I used a (very) large tooth comb. I would then grab the loose ponytail and pull the hair up towards my crown and pin to the back of my head. Then I’d grab a satin or silk scarf and tie it around my head as a means on managing the new growth. After a few hours of drying, I would remove the scarf, take down the ponytail and use the cool blast setting to help dry the middle section of my hair.
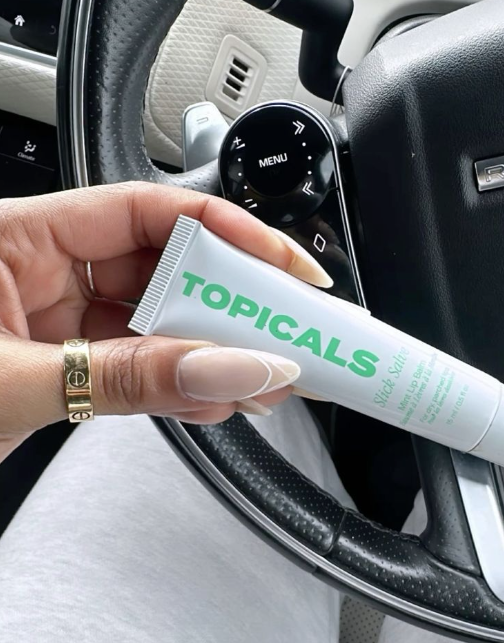
This picture is when I airdry with one ponytail. Here I've pulled the hair up towards the front of my scalp and secured it with a bobby pin.

In this pic, I actaully parted my hair down the middle and created pigtails. This is one side, the other side of my hair looks exactly the same. Whenever I chose to airdry in pigtails, I pull the hair up towards the sides instead of straight up the middle. When I do it this way, the center of my hair seems to dry a little quicker. Once the hair is secure, I tie a silk scarf and go on my merry little way.

Both of these pics were taken while my hair was still damp.
This method has some obvious pluses and minuses:
Pluses:
+: My once wild and crazy new growth became as tame as a little lamb.
+: I spent much less time then I would have if I were to rollerset the hair.
+: The hair set in a relatively straight pattern. I didn’t have to flatten the big hair I normally experienced with a rollerset.
Minuses:
-Because I dried the middle section of my hair with a hair dryer, the sleekness I created with the satin scarf was compromised. In other words, the middle (and back section) would poof out depending on how moist it was when I loosen the ponytail.
-The large tooth comb I used did not allow for ample detangling power before tying it down. This meant that I still had to contend with viscous tangles later on in the process.
-I never used any direct heat tool once the hair was completely dry, in most cases, I would end up with straight hair in the front and sides and textured hair in the middle and back sections.
I have since modified my routine in order to increase effectiveness. What I’ve done as of late was to create two pigtails instead on one ponytail. With pigtails, I can detangle the two halves more easily in effectively. Once I’ve created the pigtails, I take the loose hair from one side and pin it to the other side of my head and vise versa. What I aim to do with this step is to have the loose hair pinned neatly to my head so that it has some structure in which to dry. It’s the structure that helps to create straighter hair.
I’ve also included a final step to my airdrying process that helps address the thick hair issue that I experienced in the middle and back of my hair. Caruso steam curlers. Please be warned that if you use the steam curlers on damp hair, you will only end up with damper hair. The hair shaft will continue to swell as the moisture is absorbed and you will experience frizz. If you chose to use any type of steam related curlers, YOU MUST WAIT UNTIL THE HAIR IS COMPLETELY DRY.
If steam curlers are not your thing, you can also choose some of these other setting options:
•Large flexi rods to create large curls or to bump the ends.
•Satin covered sponge rollers (again your hair must be 100% dry or frizz will happen).
•The low setting of your flat iron.
•Large Pocahontas pigtail braids.
•Bantu knots
•You can wrap your hair
•You can place your hair in a bun (before bunning, you want to thoroughly detangle and moisturize; otherwise, you may be causing more issues when your shed hairs and your tangles meet.)
My airdrying routine is still a work in progress but I am confident that I can tweak and adjust the routine to create the results I want. Those of you who have managed to put together a process that works, leave a comment and share!


hey! i just discovered your blog and i loooooove it :)
ReplyDeletelike you, i am trying to drastically improve the condition of my relaxed hair. i found this site today and have read it from top to bottom.
keep up the great work!!!
Nice! I am going to airdry in plaits for a while. But I definitely want to give airdrying for a straight look a try. I have caruso rollers around and about. Post pics when ya can! Keep up the good work!
ReplyDeletei'm taking note of this method for real. with luck i'll have success with it. airdrying was a sucky experience for me every time but having to deal with the breakage and dryness from heat was equally as frustrating.
ReplyDeleteThat sounds great, but I don't get the ponytail explanation. Can you put pics up for that pls
ReplyDeleteThanks for posting them :). Love your hair
ReplyDeleteLOL!! I know that struggle of air drying. I learned too, that pigtails are the way to go!
ReplyDeleteI really love this way of airdrying my hair vs. one ponytail pinned up too. This is especially great a few days before a relaxer. Thanks!
ReplyDeletePortland
http://askportland.blogspot.com/
Hi Nadege! I've recently stumbled upon this post, and this method (pinning up two pigtails in a scarf) leaves my ends nice and smooth after air drying! I am so happy and will be posting about it on my blog soon! But, just like you, I experienced scary tangles at the crown after my first dry. Did you ever find a way to air dry this way and prevent the tangles?
ReplyDeleteHi Tay! So glad this is working for you. I no longer air dry but if I were to do this again what I would do differently is to THOROUGHLY detangle prior to creating the pig tails. I would only detangle enough to get a smooth ponytail, not enough to avoid the latter onset of tangles. I would also use more oil in the middle where the tangles were prone to form. That way I can detangle easier on the back end. Hope that helps.
ReplyDelete